cCloud TV is a third-party Kodi Live TV add-on with 1000s of channels mostly from USA and UK. This add-on has been consistent and reliable since years and has been improving over time to provide the users a stable Kodi stream. This simple guide will instruct you how to install cCloud TV on Kodi 17 Krypton.
Reminder: Before You Go Ahead, Get Secure
Before you go ahead and use Kodi, it is advisable to download a VPN for your Kodi.
A VPN will:
- Keep you safe and secure while you stream away and watch your favorite movies online.
- Circumvent all ISP limitations and let you access unlimited media content.
- Help you avoid warning letters and copyright/infringement notices.
Also, your video stream speed will increase and you’ll definitely want that to enjoy more movies in lesser time. So don’t wait up and download the best Kodi VPN today.
Just follow these brief steps to get secure:
- Signup for IPVanish here and download it.
- Launch the app and get connected to IPVanish server.
- Open Kodi and stream your favorite media like movies and TV shows easily.
I highly recommend using IPVanish. It’ll do the job as promised without burning a hole in your pocket.
Be a part of the Tier-1 VPN- IPVanish Today!
If you’re a Kodi beginner, I’ll suggest this detailed guide on how to use Kodi.
cCloud TV: A Brief Overview
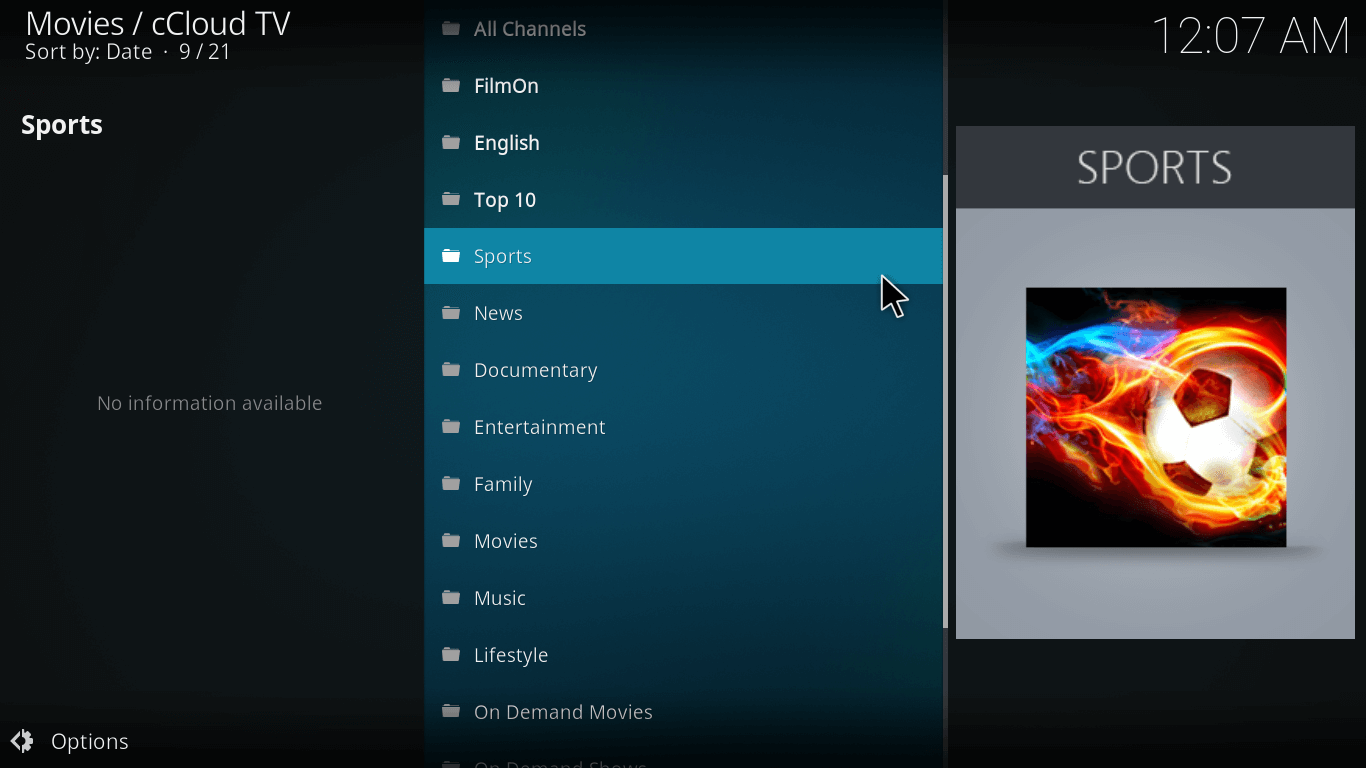
cCloud TV is one of the most promising Kodi Live TV add-ons. The cCloud add-on has more than thousands of channels mostly from USA and UK. You can find some of the most popular channels like ESPN, Cartoon Network, Discovery Channel, NBC, ABC, CBS and a lot more.
cCloud TV streaming is as easy as it gets.
For simpler navigation, cCloud TV add-on has a segregated menu with options like:
- Top 10
- Sports
- News
- Entertainment
- Documentary
- Movies
- Family
- Music
- Radio
- Lifestyle
- International
- 24/7 Channels
- On Demand Movies
- On Demand Shows
Although cCloud TV has an On Demand Movies and Shows section, as of now it doesn’t have quite a lot to offer in comparison with other Kodi add-ons for movies.
More Reasons to Install cCloud on Kodi 17
- Watch thousands of TV channels from around the globe.
- A strong community of users and official site for all your queries.
- A consistent and reliable Live TV add-on for Kodi.
- Famous channels like ESPN, ABC, CBS, Sky, History Channel, etc.
Steps to Install cCloud TV on Kodi 17 Krypton
- Open Kodi Interface.
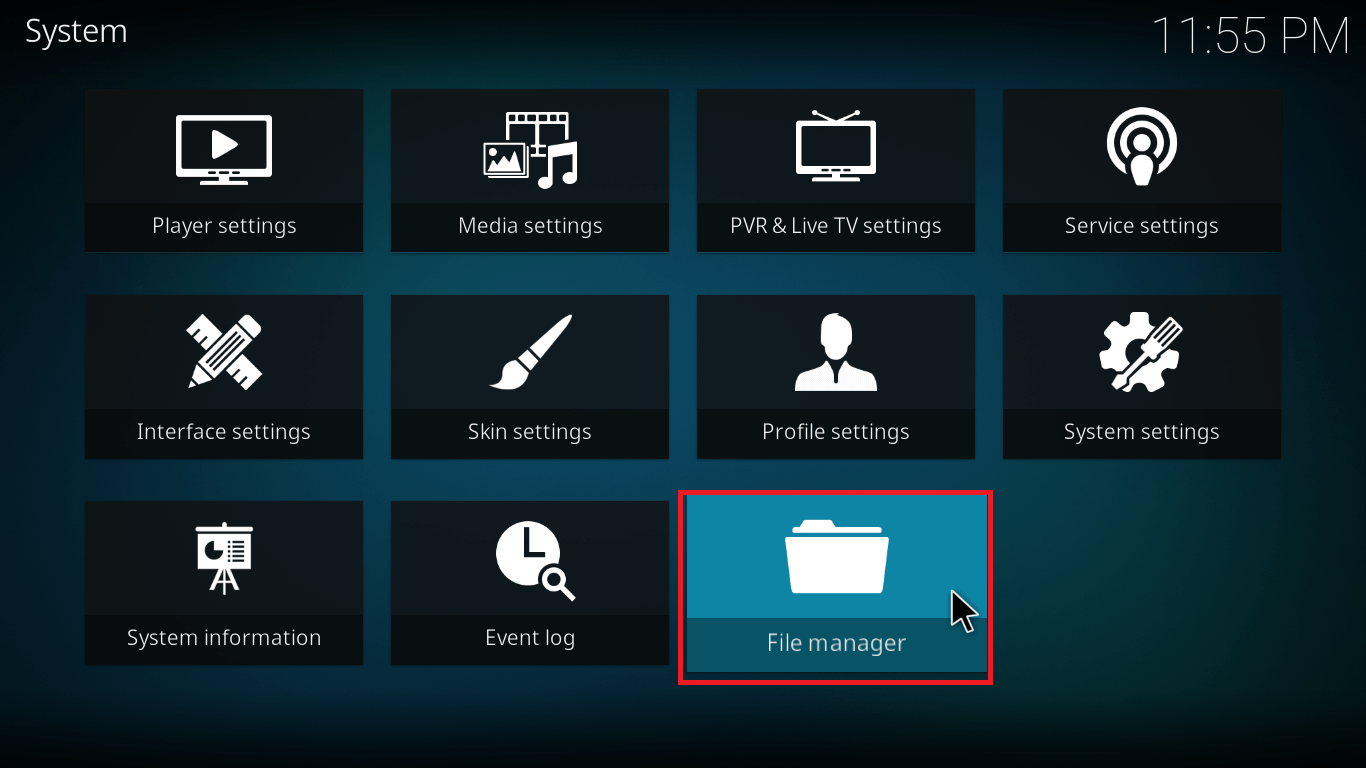
- From the main menu, select settings> File Manager.
- Select Add Source. Double click where it says none.
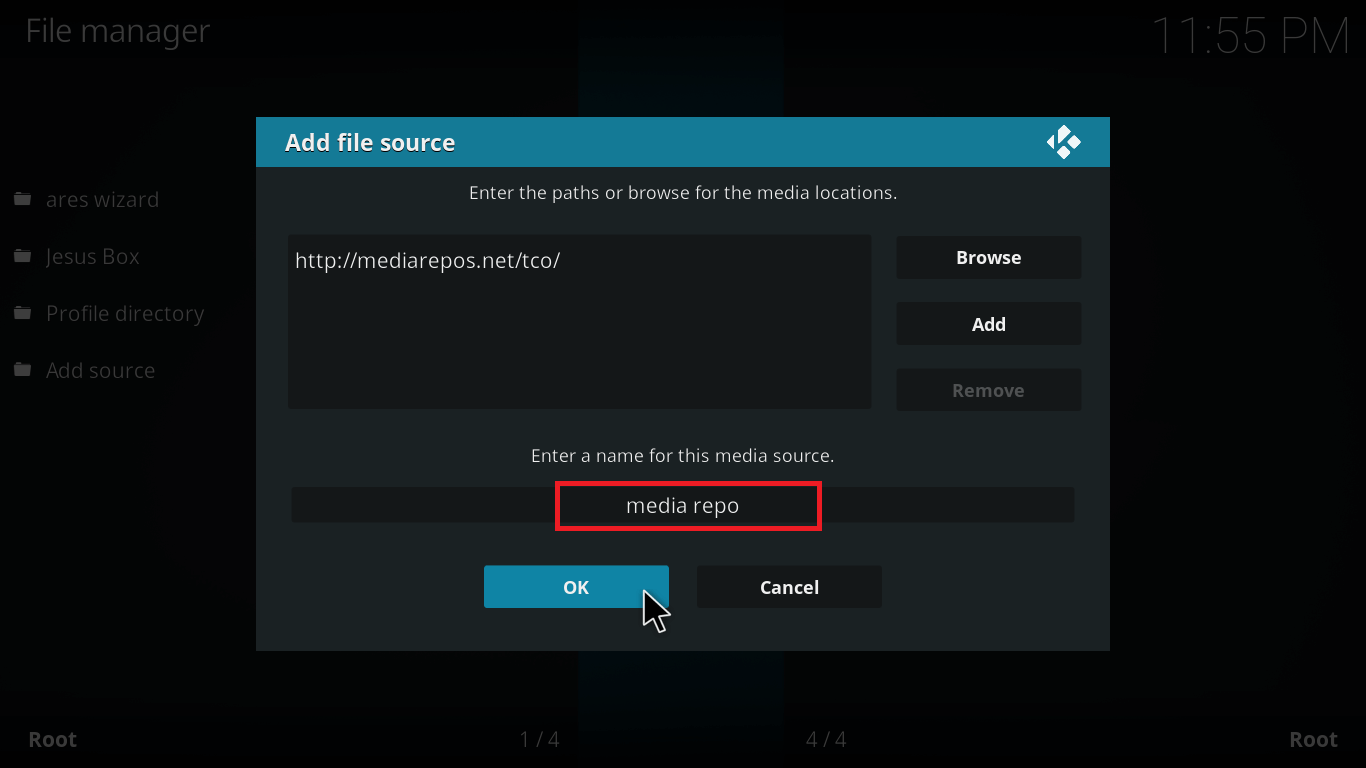
- Enter the following URL: http://mediarepos.net/tco/. Click Ok.
- Label the media source as Media Repo and click OK.
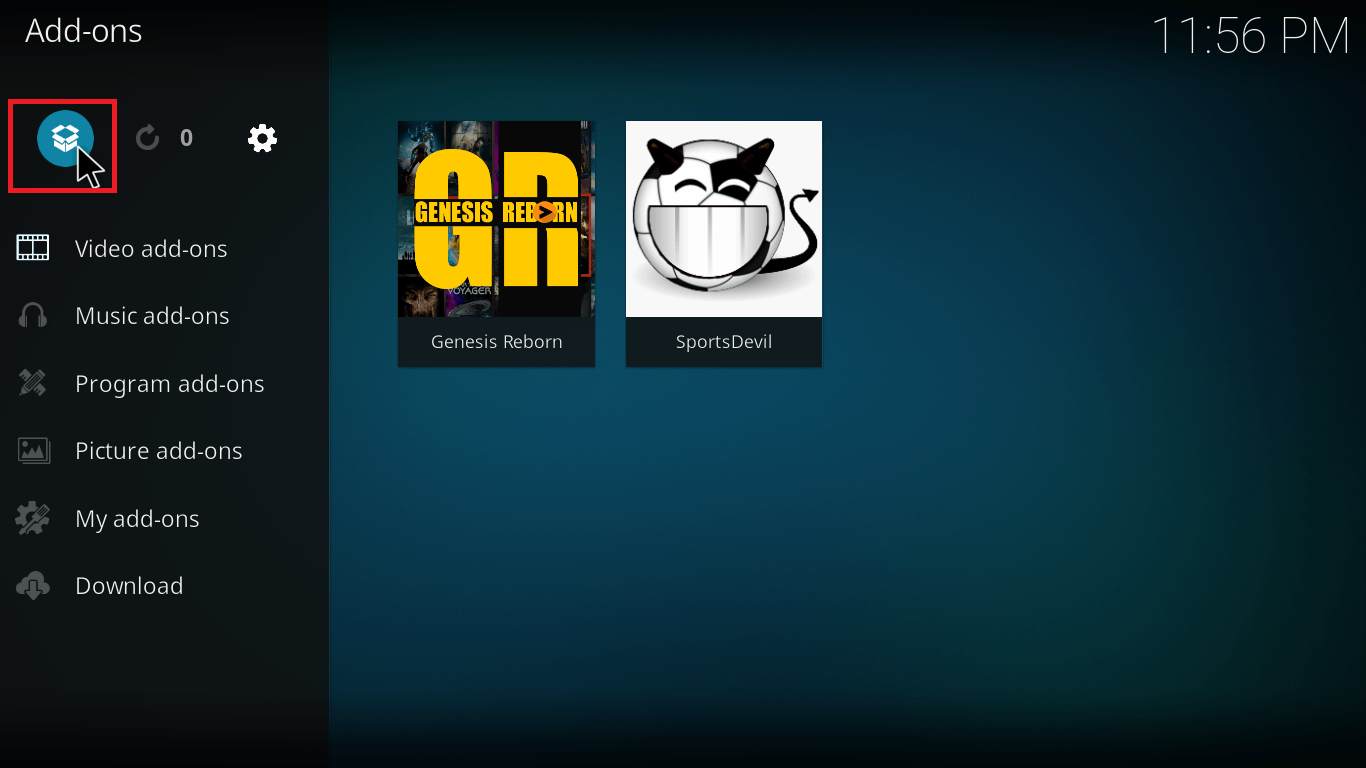
- Navigate back to home screen. Select Add-ons> Add-on Browser (Package Installer).
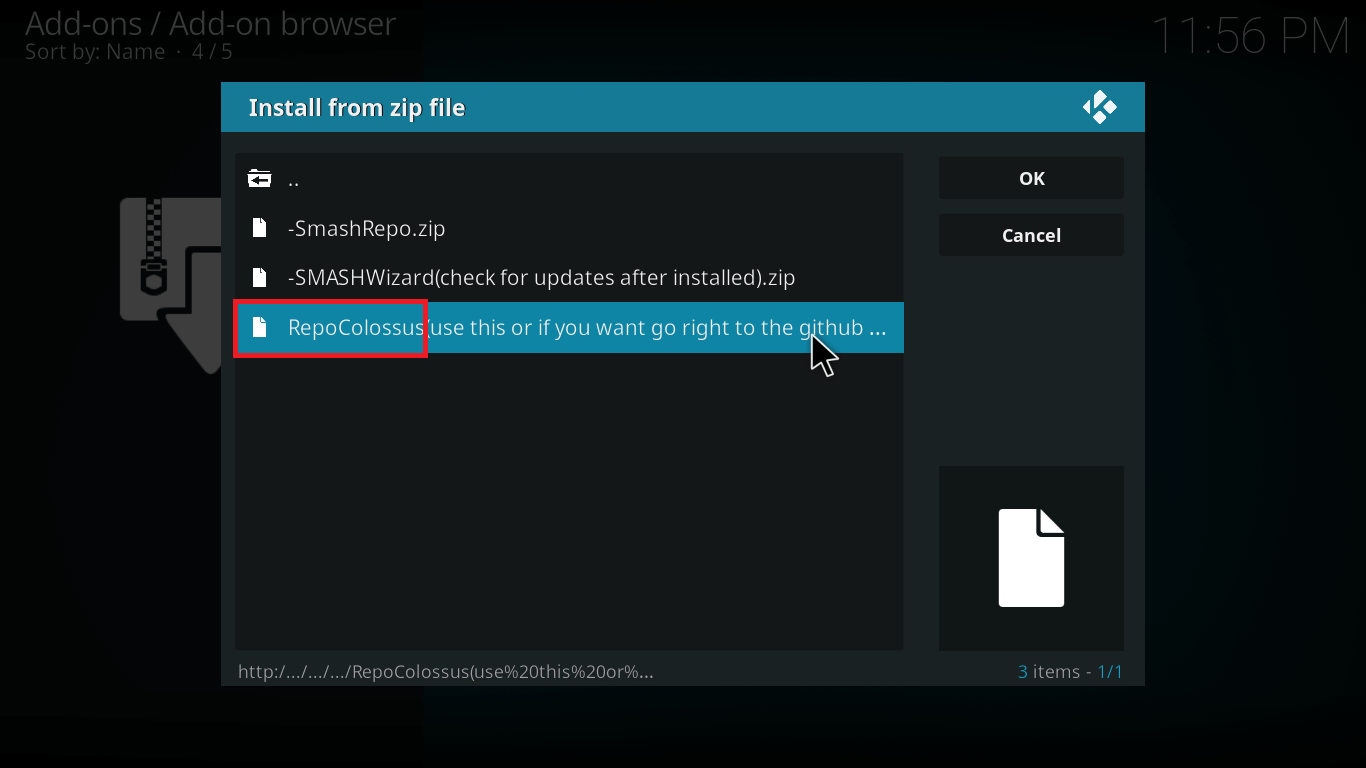
- Select Install from zip File> Media Repo. Click on cCloud TV Repo zip: repository.colossus-x-x-x.zip.
- Once the add-on enabled notification comes up, select Install From Repository.
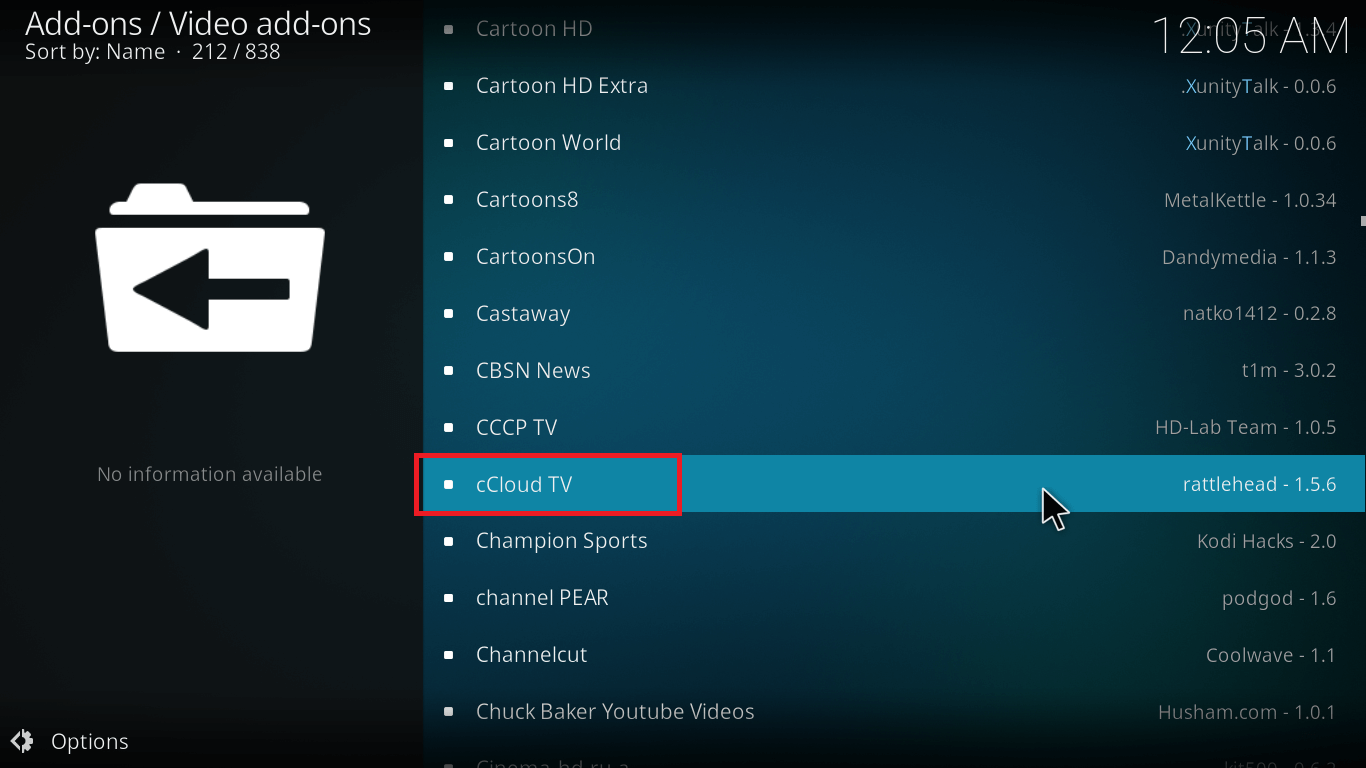
- Click on Colossal Repository> Video Add-ons. Scroll to find cCloud TV click on it.
- Install the add-on and wait for a few seconds. You’ll receive the add-on enabled notification on the top-right corner of the screen.


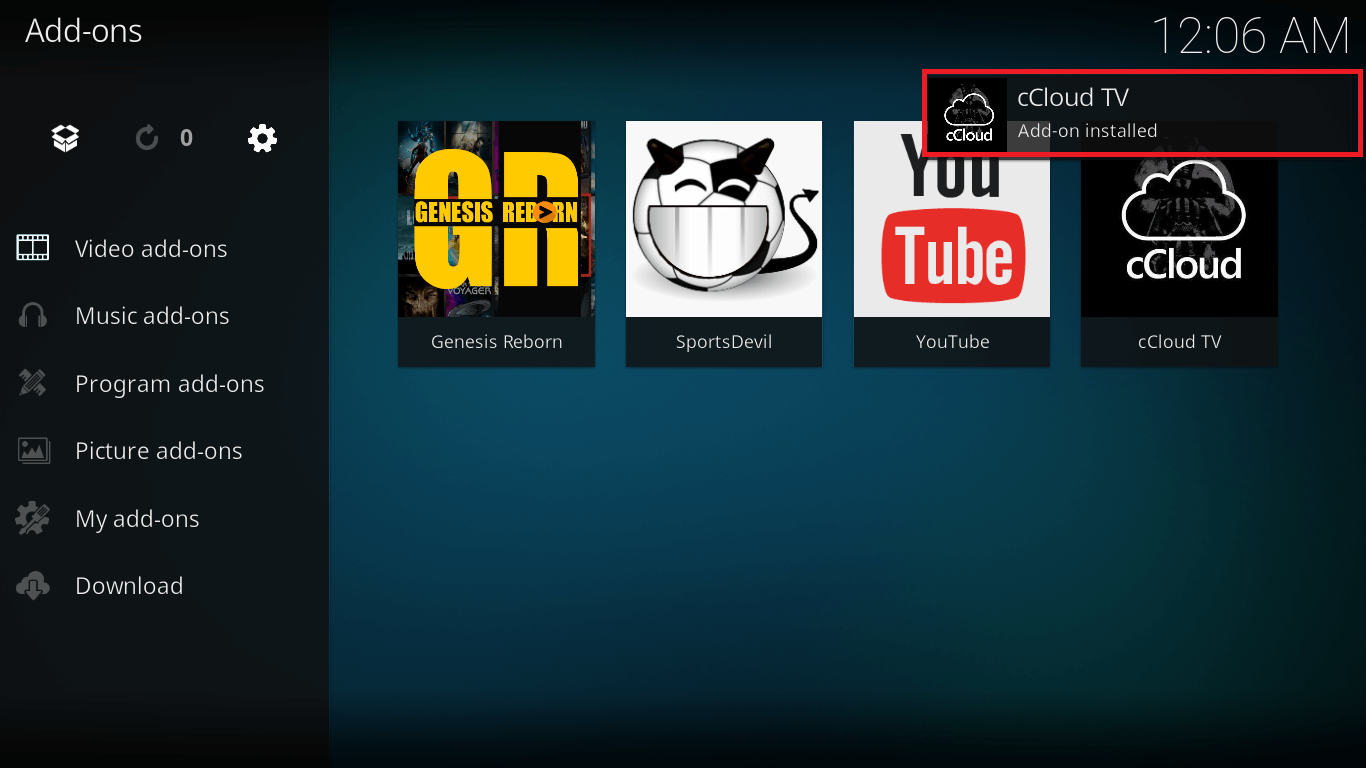
You’ll find cCloud in My add-ons on the main screen of Kodi or navigate to Add-ons> Video Add-ons and select cCloud TV to launch it.
In case, you find trouble with this installation, you can try the alternative method given below:
Alternative Method: Using Kodi Israel Repository
- Open Kodi interface on your device.
- Select Settings> File Manager> Add Source.
- Double click where it says none. Enter the following URL: http://kdil.co/repo/ and click OK.
- Name the media source as Kodi Israel Repo and click OK.
- From the main menu of Kodi, select Add-ons> Package Installer.
- Click Install From Zip File. Select Kodi Israel> Kodil.zip and click OK.
- Once the repo is installed, select Install From Repository.
- Click on .Kodil Repository> Video Add-ons.
- Now scroll below and locate cCloud TV. Select it and click on Install.
- Give it 5-10 seconds. The add-on enabled notification will be displayed on your Kodi interface.
As a second alternative, you may also try Super Repository http://srp.nu/ for cCloud TV.
Want more?
If you still want more add-ons for your Kodi, this list of top Live TV add-ons will help you find the best Kodi add-ons for your entertainment.
You may also try the top Kodi Repositories that are still up and running. Installing a Kodi Repository frees you of any outdated add-ons as the repository automatically updates all add-ons as soon as a new update comes on board.
Fix Buffering on Kodi
Cache gathered over time may be the reason of buffering issues on your Kodi. Follow this tutorial to fix buffering on Kodi forever and enjoy endless media streaming minus the distasteful buffering.
Facing Difficulty with cCloud TV or Kodi?
If you have any other difficulty regarding this add-on or Kodi, leave it in the comment section and I’ll ready a new post just for your solution.
Liked this post? Share it with your friends and subscribe to freaksense.
Disclaimer: Please note that freaksense community does not promote and/or approve of piracy in any way. How you use the information presented to you is ultimately your sole responsibility and you shall be accountable for the same. Also, we do not own any rights or have authority over the software, products and external links mentioned in this post.


You got yourself a new rader.