How to Install The Beast on Kodi 17 Krypton | The Best Kodi Build

The Beast is an open-source Kodi available for download on multiple platforms like Android, Mac, and PC. With this Kodi build, you get a pre-customized interface and popular add-ons preinstalled on your Kodi. In this guide, I’ll share all about this Kodi build and how you can install the Beast on Kodi 17 Krypton.
Reminder: Before You Go Ahead, Get Secure
Before you go ahead and use Kodi, it is advisable to download a VPN for your Kodi.
A VPN will:
- Keep you safe and secure while you stream away and watch your favorite movies online.
- Circumvent all ISP limitations and let you access unlimited media content.
- Help you avoid warning letters and copyright/infringement notices.
Also, your video stream speed will increase and you’ll definitely want that to enjoy more movies in lesser time. So don’t wait up and download the best Kodi VPN today.
Just follow these brief steps to get secure:
- Signup for IPVanish here and download it.
- Launch the app and get connected to IPVanish server.
- Open Kodi and stream your favorite media like movies and TV shows easily.
I highly recommend using IPVanish. It’ll do the job as promised without burning a hole in your pocket.
Be a part of the Tier-1 VPN- IPVanish Today!
The Beast Kodi Krypton: Review
The Beast is one of the oldest and most popular Kodi builds and recently it has been updated to work well with Kodi 17 Krypton as well. Now with this build, you’ll get a customized Kodi and famous add-ons like 1Channel, SALTS, SportsDevil and many more pre-installed on your Kodi.
It makes quite a sense to install The Beast on Kodi Krypton. Offering the famous old and new Kodi add-ons, the user doesn’t have to install any add-ons manually with the Beast Build.
There’s more!
With the Beast on Kodi, the list of movies you can watch is inexhaustible. Apart from famous Live TV Kodi add-ons, it has a variety of movies across all genre catering to a vertical of people from all generations, regions, and cultures.
Furthermore, it has added Echo TV Guide into the mix. If you’ve ever used a digital cable network, you’ll know what I mean. Echo TV guide presents a list of all the available channels and the current and upcoming episodes for better navigation for the user.
The Beast Kodi Wizard offers many options to keep you entertained at all times.
How to Install The Beast on Kodi 17
For installing the beast on Kodi 17, you’ll first require registering on the Beast official site.
A word of Advice:
Always install the Beast Build on a fresh Kodi installation. This will remove any possibility of add-ons and Kodi Skins incompatibility issues.
You can learn how to update Kodi or reinstall it quickly here.
Follow the guide below for quick signup on The Beast Kodi
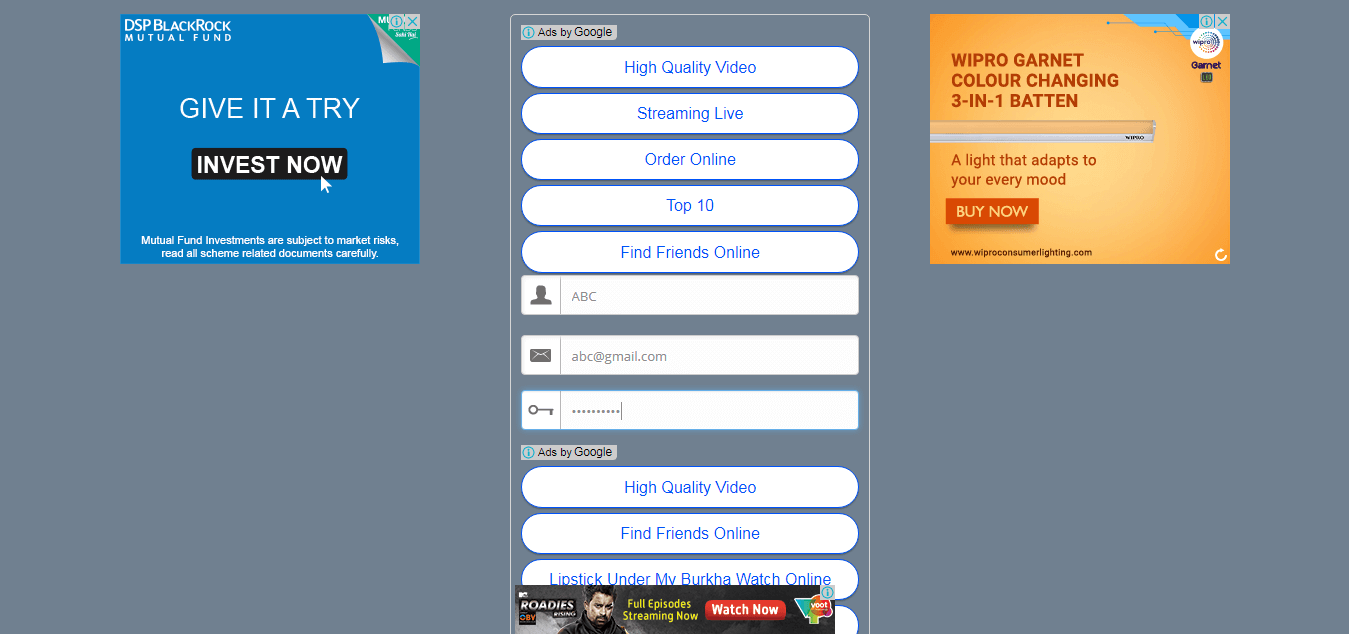
Stay cautious of a variety of banner ads present on the site. The Beast Kodi registers web page is designed in a lousy manner where it becomes difficult to separate the content from the ads.
Look how it’s done:
- Open the link https://thebeast1.com/ [U.K. Server] or https://thebeast2.com/ [U.S. Server].
- Scroll below and fill in the details: Name, Email, and Password.
- Click Register. You’ll view a message asking you to login.
- Login with the email and password you used earlier. On the side, click on verify.
- A message saying you have successfully verified will be displayed on the screen.

You can use any fake email ID as well as there is no email configuration for the Beast on Kodi.
Now it’s action time for installing the Beast on Kodi
- Open Kodi Interface on your device.
- Select Settings> File Manager> Add Source.
- Double Click where it says none. Enter the URL: https://thebeast1.com/ [U.K. Server] or https://thebeast2.com/ [U.S. Server] and click OK.
- Label the media source as The Beast Wizard. Click OK.
- From the main menu, select Add-ons> Add-ons Browser.
- Select Install from Zip File> The Beast Wizard> plugin.video.beast.zip and click OK.
- A popup with Add-on enabled will display on top-right of the screen.
- Select My Add-ons> Program Add-ons> The Beast Wizard.
- In the Beast Wizard Screen, select Configure.
- Type in the email address you used for the Beast Kodi Login.
- Click on Pass. Now enter the Password and click OK.
- Next, click Open from the bottom menu.
- Select the version of build you want to install. For Kodi Krypton, I’d suggest The Beast Krypton August 19th which is the latest Beast build as of this writing.
- It will now download and install. After installation, Kodi will restart automatically. If it doesn’t, restart Kodi manually.
The URL you have to enter will depend on the site you used to register your email.
Congrats!!!
The Beast Build is now successfully installed on your Kodi 17.
The Beast on Kodi: Pros & Cons
While the Beast on Kodi stands as the top Kodi build for a long time now, here are the few pros and cons to consider for this Kodi build.
Pros:
- A great variety of movies across more than 360 Genres.
- All famous Kodi add-ons come pre-installed in The Beast Wizard.
- Echo TV Guide add-on is integrated into The Beast on Kodi.
- A reliable and consistent Kodi build over the years.
- Latest Kodi add-ons are a part of the Beast package.
Cons:
- While The Beast is a great build, the User interface and visuals can be improved. The UI of the Beast build is complex once you get past the main screen. It can radically overwhelm a Kodi beginner.
- Another issue I found with The Beast is how the registration site is overloaded with unnecessary and confusing banner ads. It just gives you a massive headache!
Final Thoughts on The Beast on Kodi
To sum it all up, I think Beast is a pretty good build and with this quick installation guide, you’ll have The Beast on Kodi running in lesser time than you prepare your morning coffee.
Liked the post? Subscribe now!
If you’ve got anything to ask/suggest, leave a comment below.
Disclaimer: Please note that freaksense community does not promote and/or approve of piracy in any way. How you use the information presented to you is ultimately your sole responsibility and you shall be accountable for the same. Also, we do not own any rights or have authority over the software, products and external links mentioned in this post.


