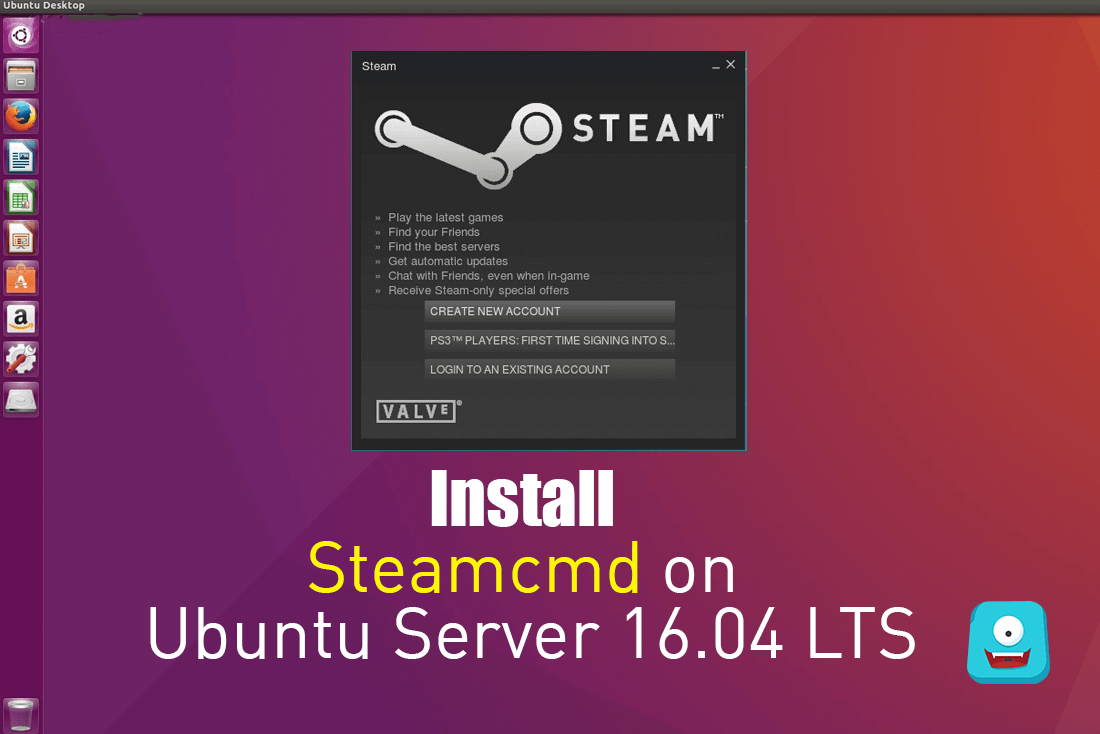
How to Install Steamcmd on Ubuntu Server 16.04 LTS | Xenial Xerus

Steamcmd or Steam Console Client is a command-line version of the Steam Client. With Steamcmd on your Ubuntu Server 16.04 LTS, you can run a variety of awesome game servers. If you’re new to Steam, let me quickly introduce you to the revolutionary system.
What is Steam?
Steam is a content delivery system software designed and developed by Valve Technologies. There are a few softwares available for free on steam. However, most of them are paid. So, if you’re a philosopher of true open-source methodology, please do not proceed.
Nonetheless, if you’re looking for a way to download and run multiple game servers, you’re on the right page. Steamcmd primarily helps you to install and update various servers available on Steam using a command line interface.
In this guide, I’ll share the simple commands to quickly install the Steamcmd on Ubuntu 16.04.
Prerequisites for the installation
1. VGA driver installed on your system.
2. Ubuntu 16.04 LTS update
3. Knowledge of Linux commands
Here, I am assuming that you have an experience with Linux distros and know how to use the CLI interface on your Ubuntu.
Let’s begin now…
How to Install Steamcmd on Ubuntu 16.04 LTS
I’ll use the apt-get command to install Steamcmd on Ubuntu Server 16.04 LTS. After invoking apt-get I’ll install Multiverse directory and then Steamcmd.
First, add multiverse directory.
$ sudo add-apt-repository multiverse
$ sudo apt-get update
$ sudo apt-get install steamcmd
This should install steamcmd on your Ubuntu Server.
If for any reason, you’re getting an error or are unable to perform the installation, use the below guide for manual installation of Steamcmd on Ubuntu Server 16.04 LTS
How to Install Steamcmd on Ubuntu 16.04 LTS Manually
If you’re using a 64-bit Ubuntu version, run the command below to enable multi-arch repositories
$ sudo dpkg --add-architecture i386
$ sudo apt-get update
Now, install the dependencies required to run steamcmd on your Ubuntu using the command below
sudo apt-get install lib32gcc1
Note: If you wish to run the whole Steam client on your system, install the following dependencies instead:
$ sudo apt-get install wget gdebi libgl1-mesa-dri:i386 libgl1-mesa-glx:i386 libc6:i386
Next steps will install the steam installer package. If you already have steam installed on your system, skip these steps.
$ wget http://media.steampowered.com/client/installer/steam.deb
Use gdebi command to install Steam
$ sudo gdebi steam.deb
Now, steam is installed on your system and you can run it using steam command on the CLI.
Let’s proceed with Steamcmd installation.
Escalate as the steam user.
su - steam
This step will create a steam directory
mkdir ~/Steam
Switch to steam directory
cd ~/Steam
Now, in the below step I’ll download and extract Steamcmd for Ubuntu Linux
curl -sqL "https://steamcdn-a.akamaihd.net/client/installer/steamcmd_osx.tar.gz" | tar zxvf -
With this step, you have installed Steamcmd successfully on Ubuntu 16.04 LTS.
Running Steamcmd on Ubuntu 16.04 LTS
On first run, Steamcmd will automatically update and enter you in Steam prompt.
If you had completed the installation using the 1st Method, type in the following command
cd ~
steamcmd
For manual installation users, type in the command shown below
cd ~/Steam
./steamcmd.sh
Downloading Game Servers with Steamcmd
Most game servers can be downloaded with an anonymous login using the following command:
login anonymous
For certain game servers, you’ll require a steam account login.
login
Next enter your password and you’re good to go.
For additional commands in Steamcmd use help command or check out this official guide from the SteamCMD developers
In Summary
Steamcmd is a command line version of Steam Client and comes in handy when you wish to install and update game servers. You can ever automate your Steamcmd and enjoy creating awesome servers according to your own requirements.
I hope you liked this guide.
In case you find something missing, let me know in the comment section below.
For more articles on tech news and updates, subscribe us 🙂


