How to Install Kali Linux in VMWare Workstation 12 Player | Kali Linux 2017.1 Setup Guide
Kali Linux is a Debian -based Linux distribution developed, funded and maintained by Offensive Security. It is a strong rebuild of Backtrack Linux. The main aim of this open-source distribution is to offer advanced penetration testing and security research tools for professional and learners of Penetration Testing. In this guide, I’ll walk you through the complex process to install Kali Linux in VMWare Workstation Player.
Now, before I tell you about Kali Linux, let me share a brief introduction of VMWare Workstation player and why I have decided to use it for the installation.
VMWare Workstation Player
VMWare Player or VMWare Workstation allows you to run multiple OS as “guest system” on any other OS (Windows, Linux, etc) called “host.” The basic idea behind this software is to run a virtual software on your existing system.
You may ask…
Why VMWare?
Here’s why!
Kali Linux is not like your normal Linux distribution. It is designed specifically for penetration testers or those who are learning to get certified in penetration testing. If you’re new to Linux and just want to try your hands on Kali Linux, VMWare Workstation player is your safest option.
Installing Kali Linux on VMWare will keep you from losing files on your system in case anything goes wrong.
More so, you don’t have to worry about the system and hardware requirements for a virtual OS installation.
Need more reasons?
Well, VMWare is a free software much like Linux Distribution. So, you can try a new Linux Distribution without any hassles in a risk-free environment right onto your system.
Now let’s get to the complex installation guide broken into easy to understand steps for you…
Steps to Install Kali Linux 2017.1 on VMWare Player
Firstly, download VMWare Workstation Player and perform the easy setup using an executable file.
The second step is to download the ISO image file for Kali Linux 2017.1 OS distribution. You’ll find multiple options for Mate, Linux, Windows, VMWare, Virtualbox and ARM distributions as well.
Now, in my case, I have a 64-bit system, so I’ve downloaded the 64-bit Kali Linux ISO File. If you’re unsure, download the 32-bit version as it’ll work on both platforms easily.
The download can take 15-20 minutes or less (even more) depending upon your Internet speed.
Have some patience.
Once the download is complete, follow the quick steps below:
How to Create a Virtual Machine in VMWare Workstation Player
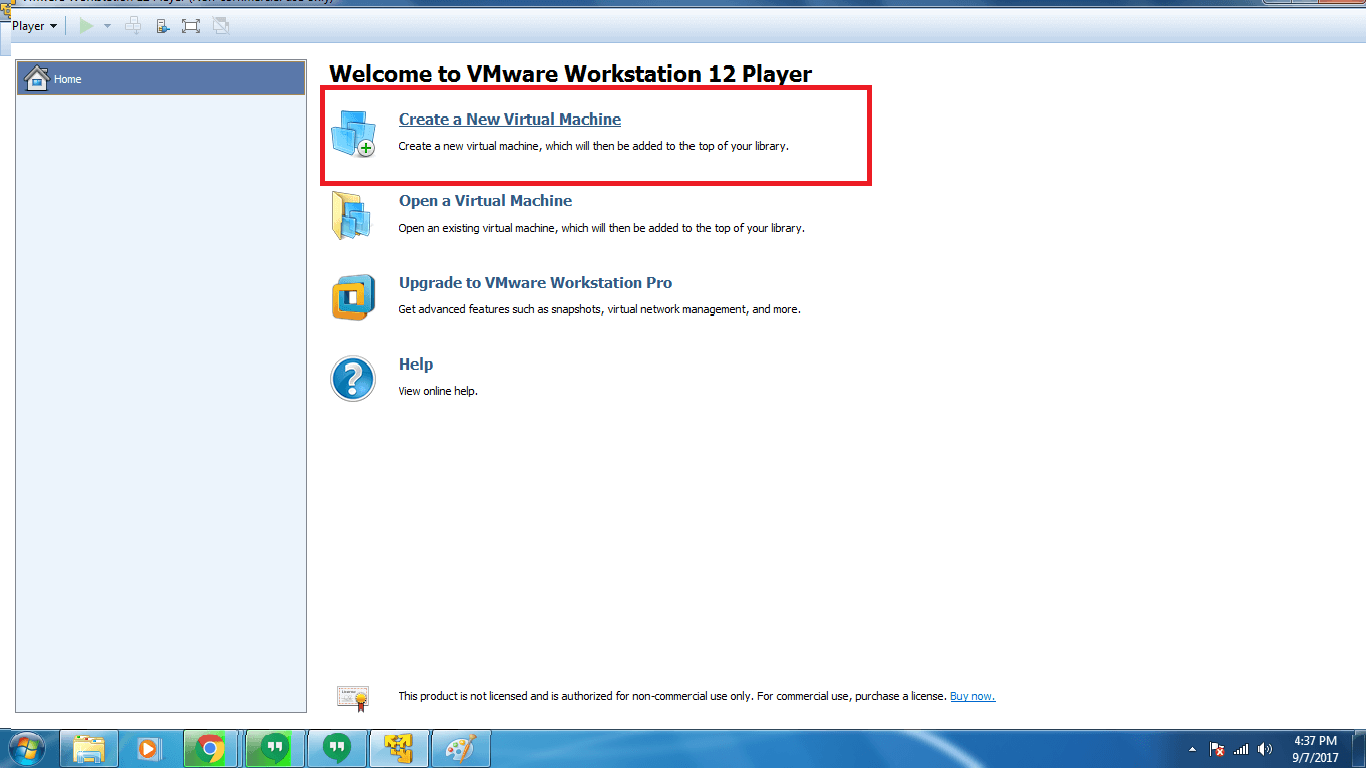
- Launch VMWare Workstation Player on your PC. These steps will work for all OS as everything is happening inside the software.
- Now, click Create a New Virtual Machine Option.
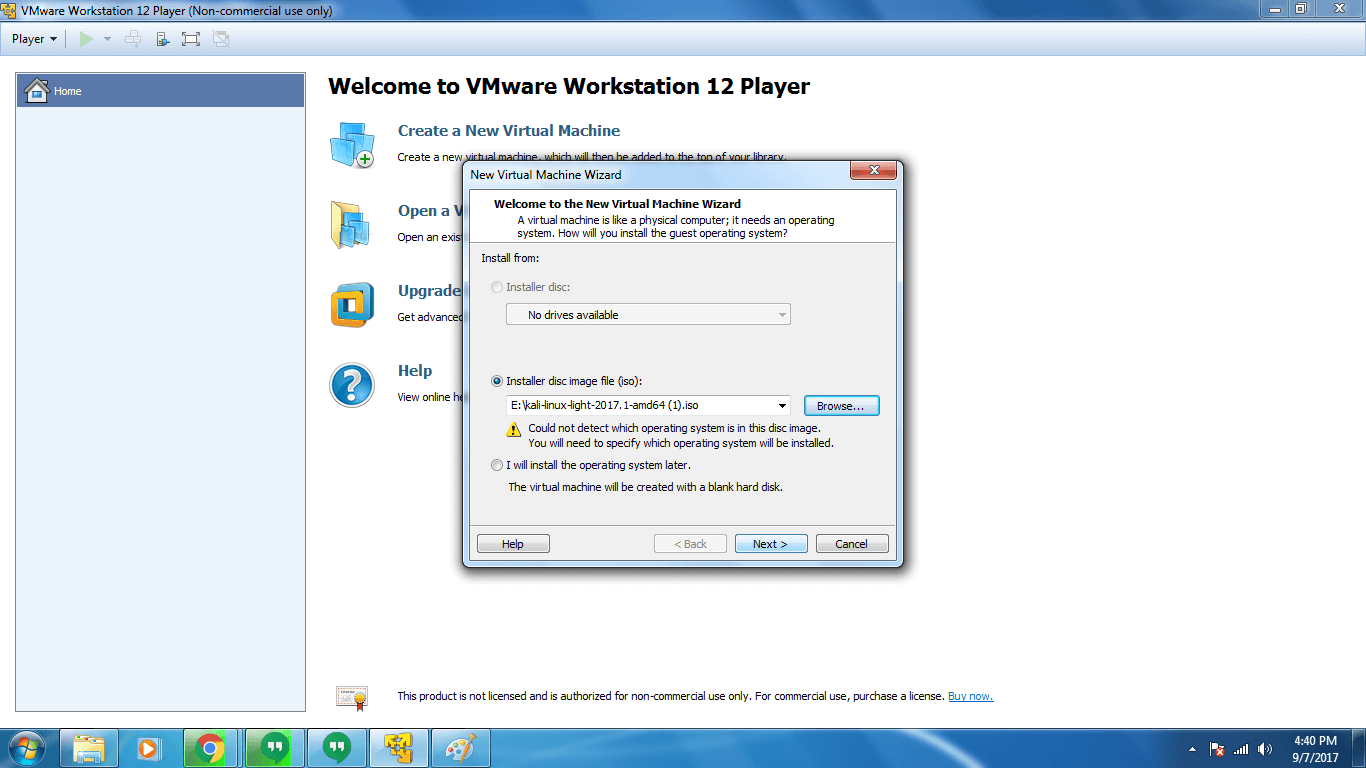
- A new window screen will appear. From Here, select option Installer Disc Image File (iso file) and browse the file on your hard disk. Click Next
- Now Select the Guest Operating System and its version below. For instance, here I’m selecting Linux and Ubuntu 64-bit version. Click Next.
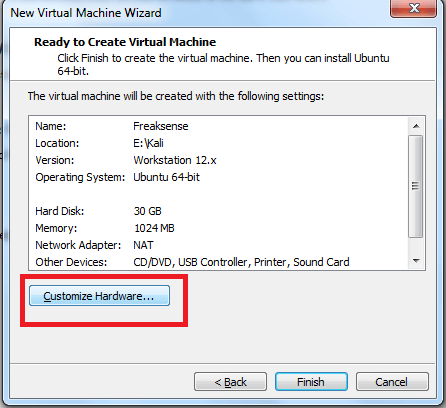
- Enter the desired name of the virtual machine and browse the path where you’d like to install Kali Linux 2017.1. Click Next.
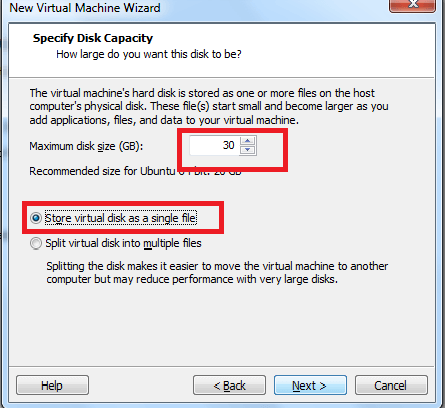
- Next, specify disk capacity, i.e., the virtual disk size. I’d suggest 30 GB as Kali Linux tends to become larger as you add applications. If not 30 GB, a minimum of 20 GB is recommended. Select Store Virtual Disk as a Single File and click Next.
- In the next step, you can customize the hardware, i.e., Processor, RAM, etc. For this click on Customize Hardware.
- A new window will appear. From the left side select Memory and in the right section specify the RAM size to at least 512 MB. As a general rule, you should specify the half of what you have available on your system.
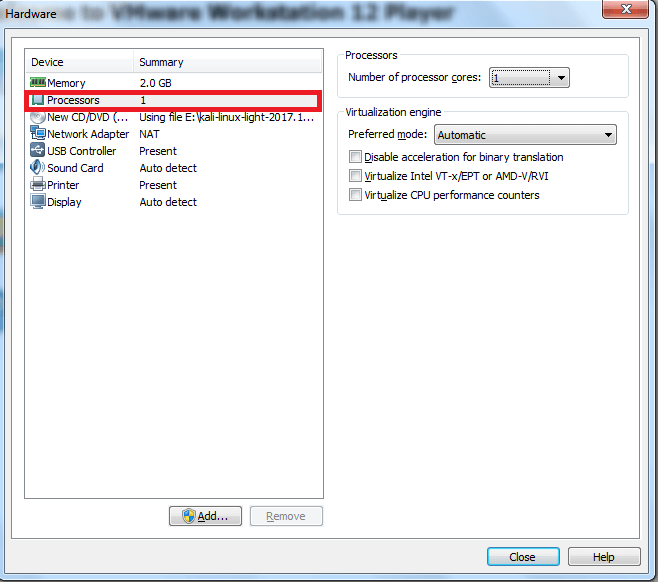
- Now let’s customize the processors. If you have multiple processors on your device, you can select all processors or just stick to 1.
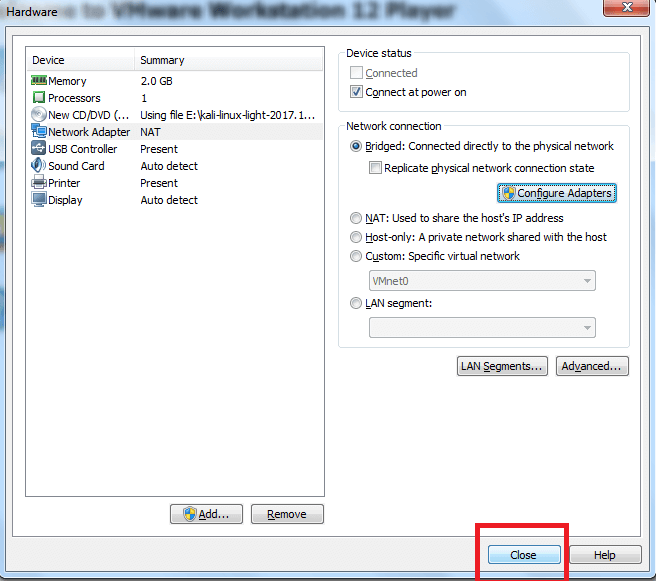
- Next we’ll configure network adapters. Highlight and select Network Adapters option from the left pane.
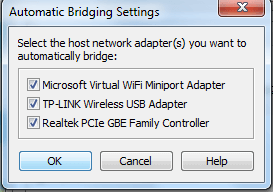
- In the right pane, click the radio option Bridged and select Configure Adapters.
- A small window will pop-up. Uncheck all the options and select only the one next to your regular network adapted and click OK.
- Click Close. The Hardware window screen will close. Now, select Finish option to close the wizard.


As an example, if you have 8GB of RAM on your system, Specify 4GB (4096MB) here.
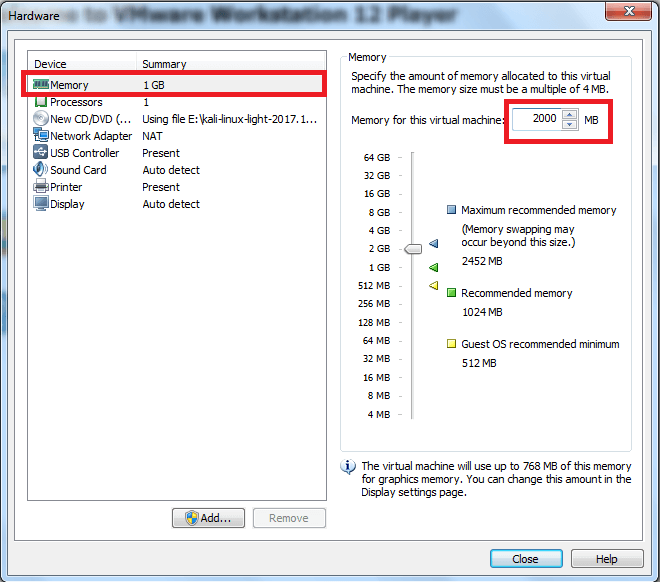
This step will be dependent on your current system configuration.


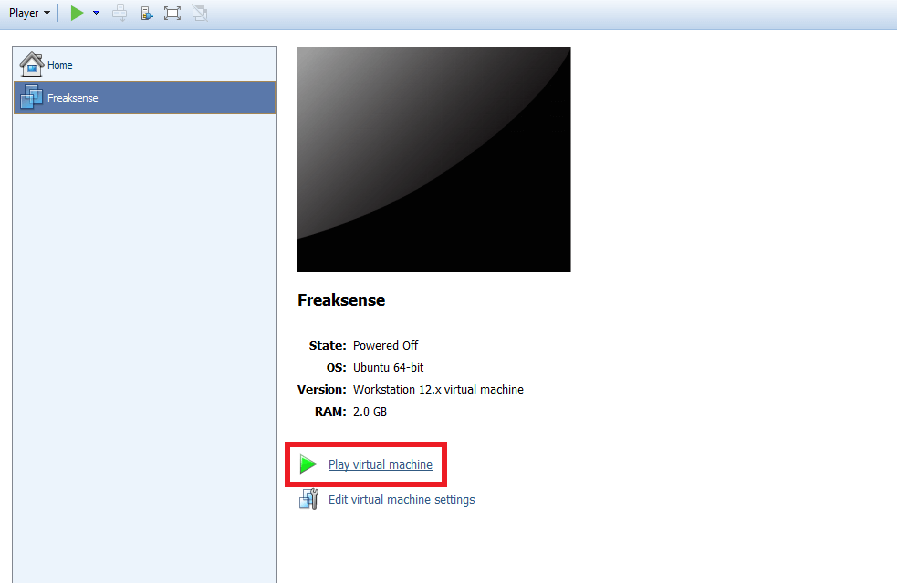
With this step, you have successfully added Kali Linux as your new Virtual Machine. It’ll be added to your VM Library.
Now all you have to do is to select the recently added Virtual Machine and Click Play Virtual Machine.
Done?
Good! You’re doing great.
Let’s get to the setup part now!
Steps to Install Kali Linux in VMWare Workstation Player
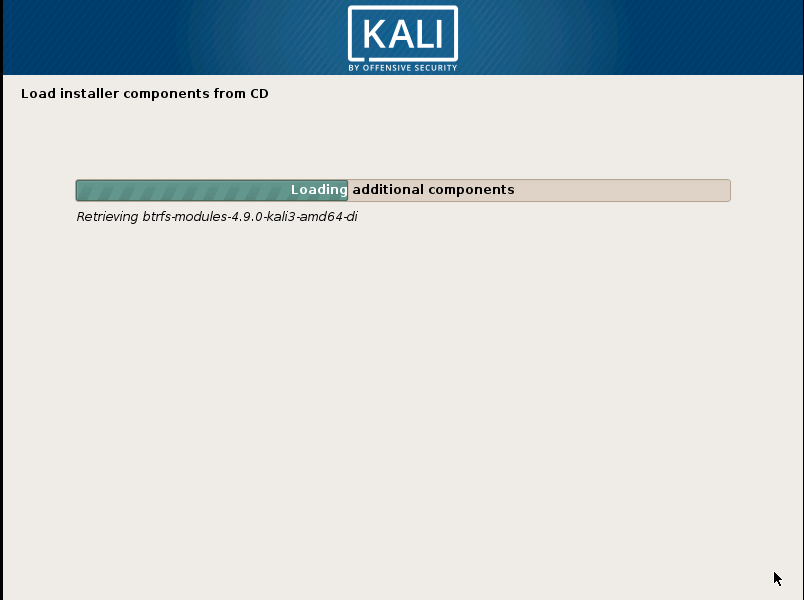
- On clicking Play Virtual Machine, Kali Linux Setup will start.
- Use your Keyboard Arrow Keys and select Graphical Install. You can also select Install option. But with Graphical Install, the process will be simplified for beginners.
- In the next screen, you can select the desired language. Use your mouse or keyboard keys to select the preferred language and click Continue.
- Next, select your location and hit continue.
- In the next screen, you’ll have to pick the desired Keymap. If you use American English Keymap, select it and click Continue.
- It will take a few seconds to detect the hardware on your system.
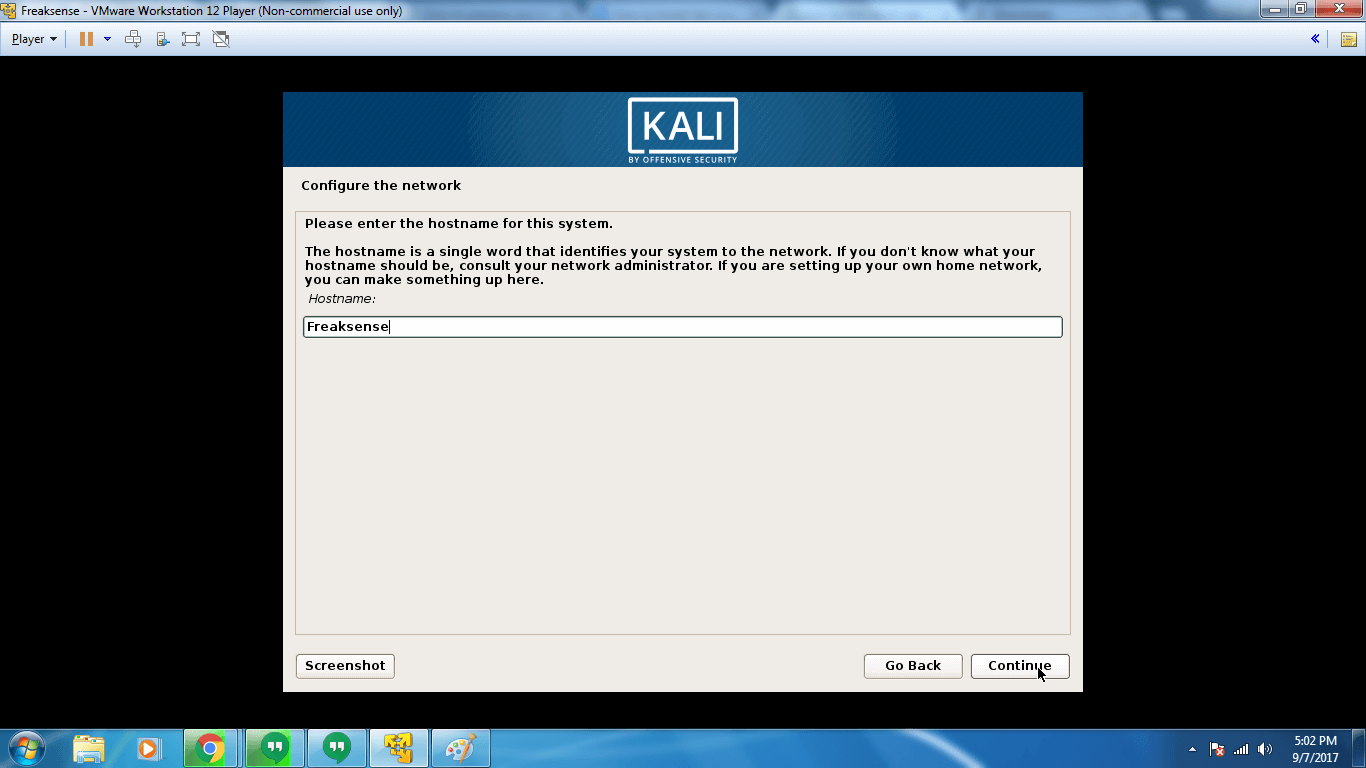
- In the new screen, you can enter a hostname of your choice. By default, it is set to Kali. You can enter a new name or leave it like that. Click Continue.
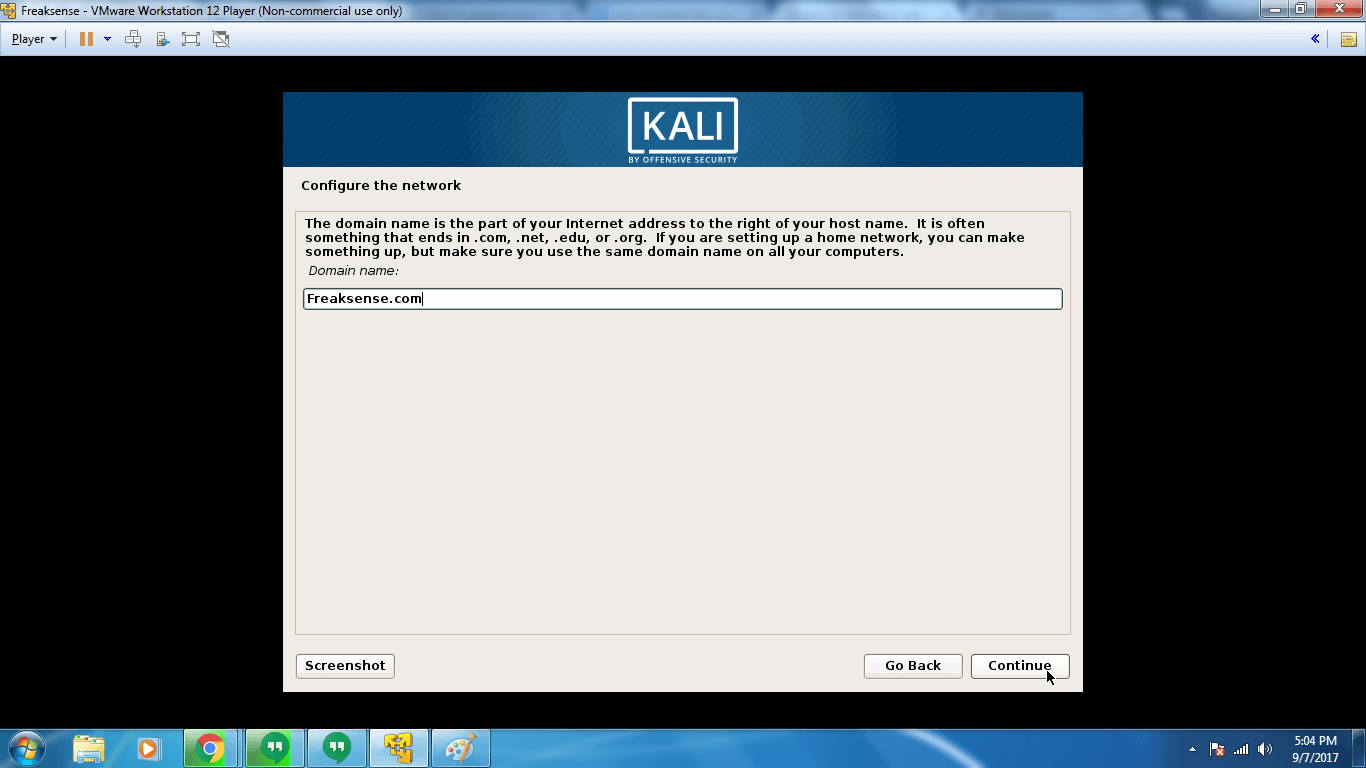
- Enter the domain name here and click Continue
- Now, it’s time to set your password. Enter the password which you can easily remember. It is crucial because if you forget your password, you’ll have to reinstall Kali. Click Continue.
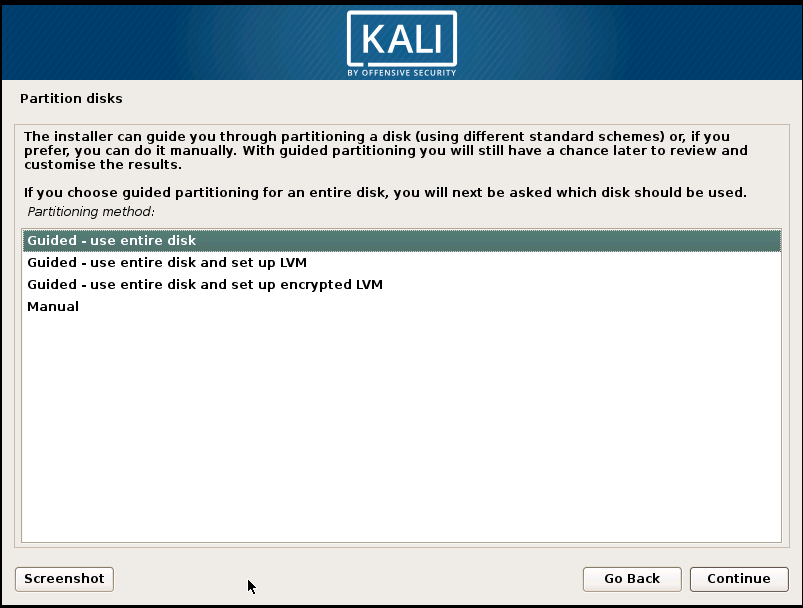
- Wait for some time. Kali is detecting the disk partitions for your system. Once the options appear, select Guided- use entire disk and select Continue.
- In the next step, the installer will ask for confirmation to use the disk partition. Select Continue.
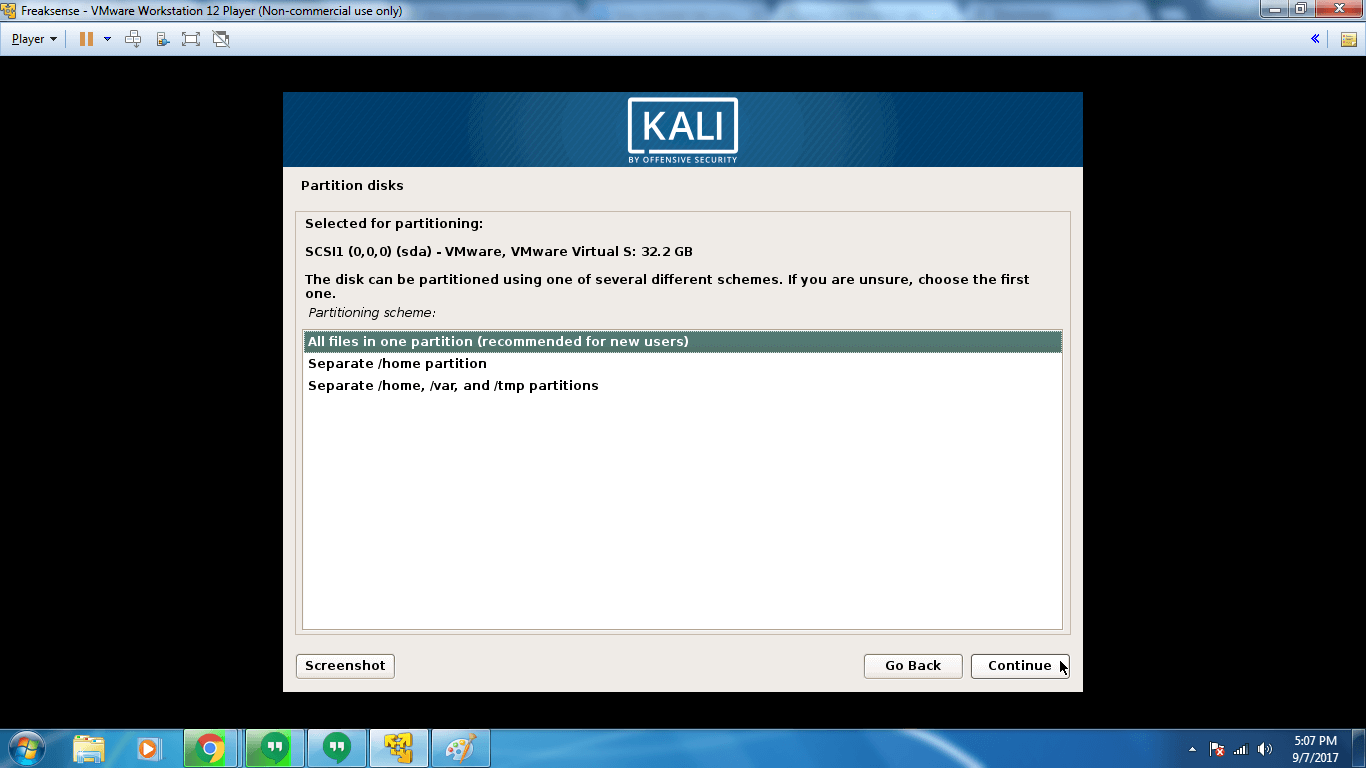
- Now, Kali will ask you for the disk partitioning scheme. Select All files in one partition and click Continue.
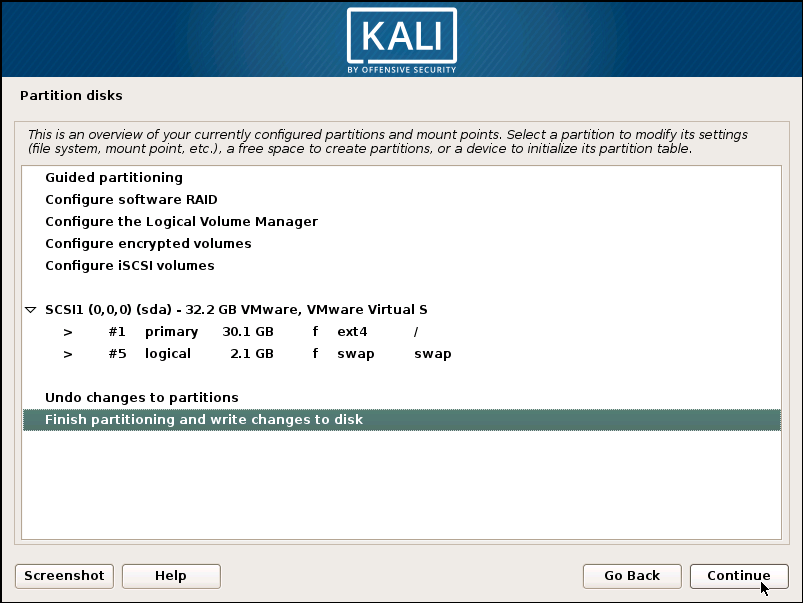
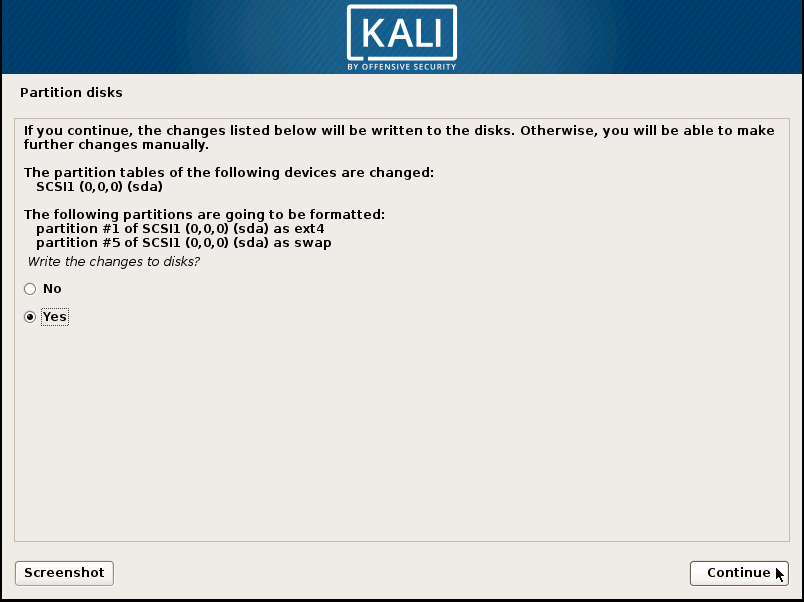
- Confirm the changes you are making by selecting the option finish partitioning and write changes to disk and click Continue.
- Again, confirm that you want to write the changes to disk by selecting yes and then press continue.
- Kali will now start installing and writing changes to disk. The process can take at most 30 minutes.
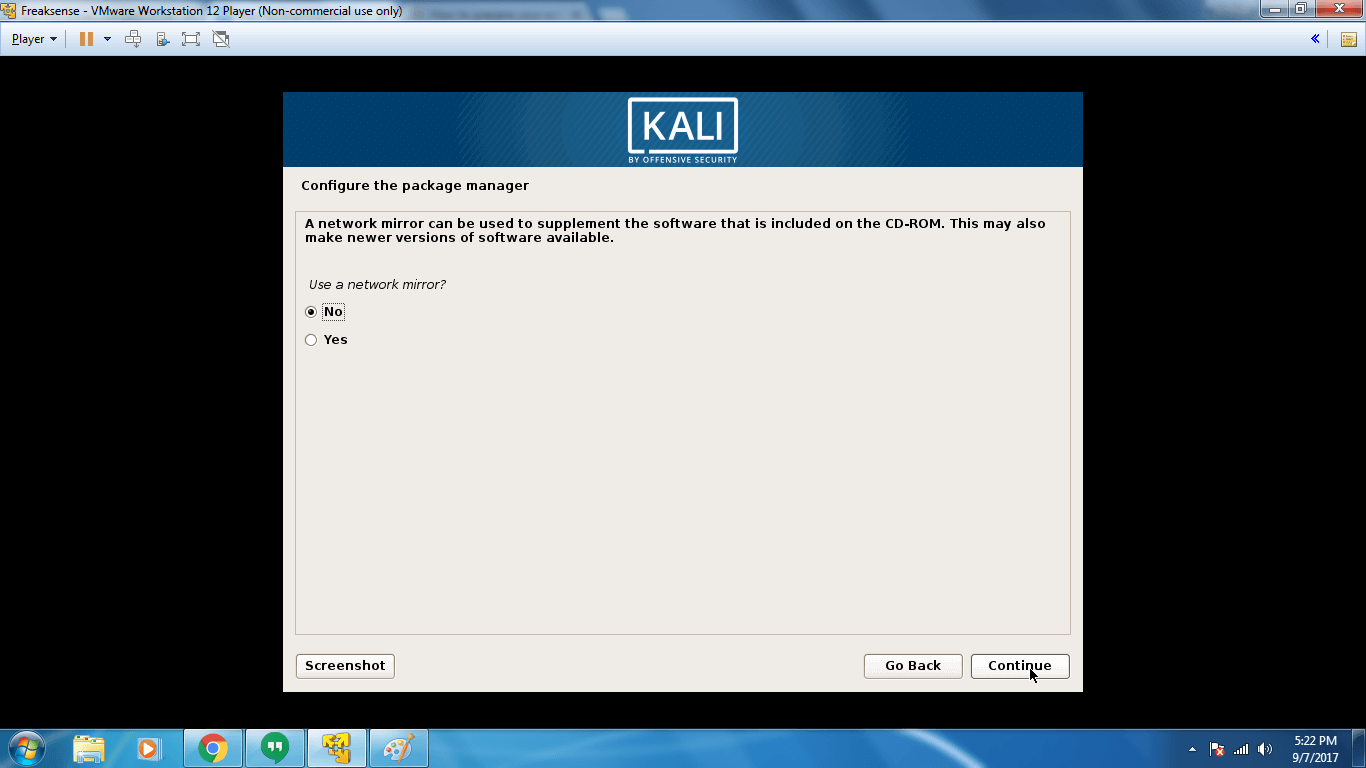
- Once Kali Linux installation is complete, it’ll ask if you for a network mirror. Select No and press Continue.
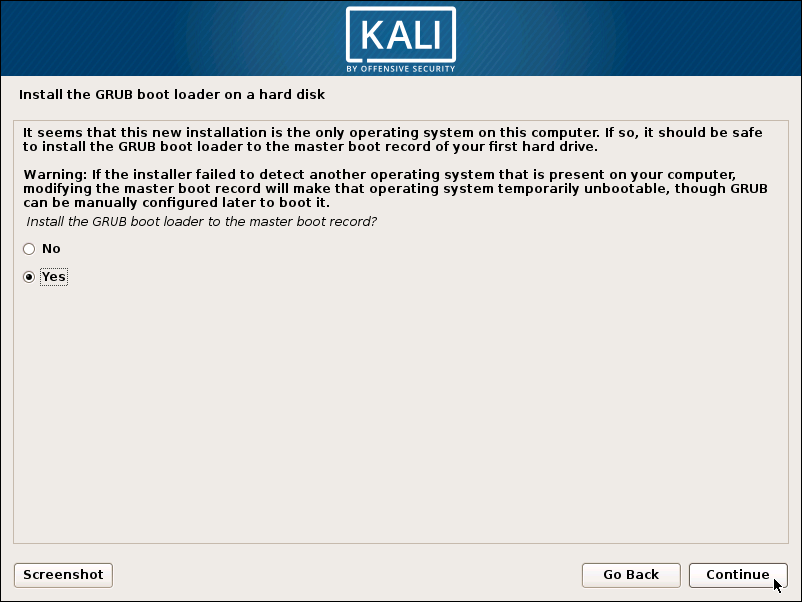
- In next window, it’ll ask if you’d like to install the GRUB Boot Loader. Click yes and then again, press continue.
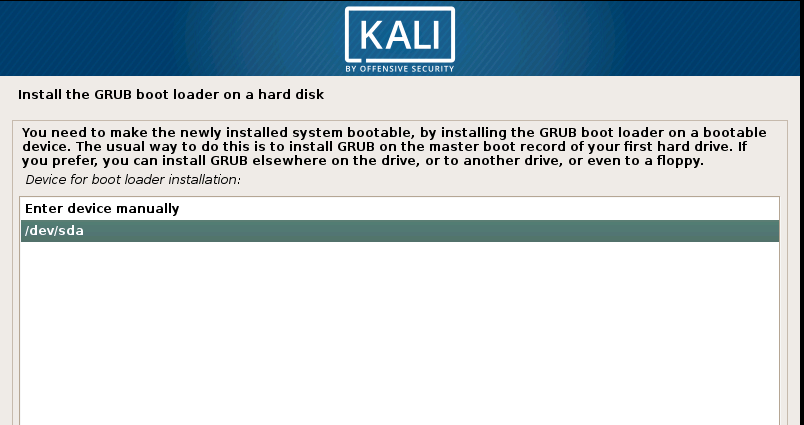
- Select /dev/sda option and click Continue.
- The installation is now complete. You’ll receive the notification on your screen as well.
- Hit Continue.
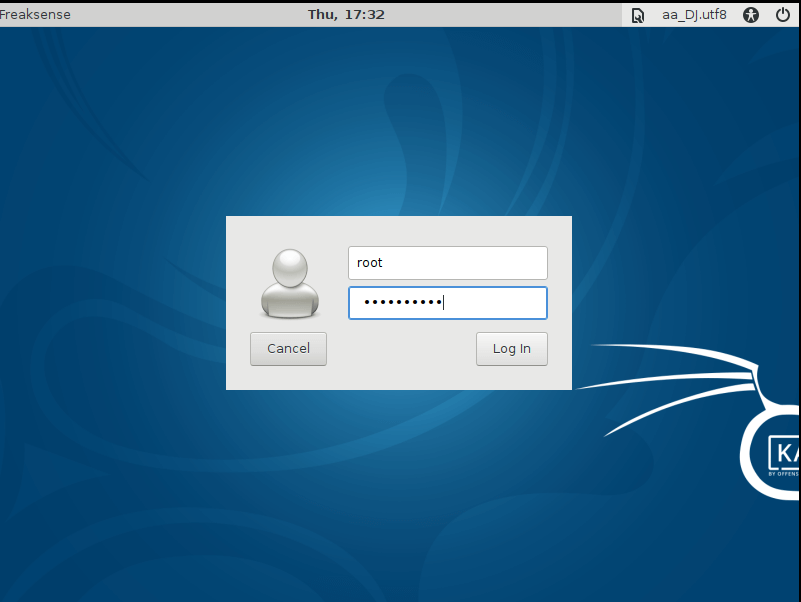
- Now Virtual Machine will restart. After the restart, you’ll be shown a login screen.
- Type in the username root and enter the password you had set earlier in the 9th step. Click Log In.


You’ve successfully installed and logged in to Kali Linux 2017.1. Congratulations.

Now, you can access to more than 600 penetration testing tools and more on Kali Distribution.
Don’t forget to check the official Kali website for regular updates.
Wrap Up
So friends, this was all.
I hope you found this elaborate simple guide helpful.
Kali Linux is a complex Linux Distribution. If you find any difficulty during the installation or would like to inquire anything else, you’re most welcome to drop in your queries in the comment section below.
Till then, Stay Updated with Freaksense.
And don’t forget to subscribe for exclusive offers and latest updates right into your email.