Would you like to be able to snap professional quality photos that look great when you upload them to social media? Although you may not have an expensive camera or much experience in photography, mastering a few basic techniques can go a long way to improving the photos that you’re able to capture.
All that you need to pull off these techniques is a basic digital camera or smartphone with a camera. While better cameras can help, as you’ll soon see the quality of the camera plays a much smaller role than the methods that are used:
1. Try using the rule of thirds
Most digital cameras or smartphones have an option to turn on the grid – which will overlay a 3×3 grid on your camera viewport. Using that grid you can then improve the composition of your photos, by positioning the subject and other elements according to its lines and intersections.
It is generally advised that the main subject of the photo be positioned in the left or right third of the grid, and other important elements are placed at intersection points. The lines of the grid can be used to align natural lines in the scene that you’re photographing, to draw the eye of viewers to particular elements.
2. Think outside the box when it comes to perspective
When you’re framing photos normally, odds are you’re standing up and holding your camera at eye level – which is how the vast majority of photos tend to be snapped. Altering that perspective and thinking outside the box a little can help you to create much more interesting photos that have a very unique appearance.
The next time you’re framing a photo, think about the perspective that you’re using and experiment a little. Try to frame it by getting low, perhaps even at floor level or doing the opposite and taking the photo from above instead. Of course, you should try other angles as well and see how they affect the subject as well as the other elements in your photo’s composition.
3. Get up close to make details stand out
Sometimes it can help to get up close or even fill the frame completely with your subject so that small details that would otherwise be obscure actually stand out instead. It is worth noting that although your camera may have a ‘zoom’ feature it would be best to avoid using it, and instead get physically closer to your subject so that the quality of your photos isn’t affected.
When you are filling the frame with your subject, think of the details as part of your composition. For example, if it is a portrait and the subject’s face is filling the frame then elements such as the eyes, small creases, freckles, or other features will be part and parcel of your composition, and you should try to use them as such.
4. Remember that social media may use a different aspect ratio
One important thing to remember when you want to capture photos for social media is that the aspect ratio they use may differ. Most cameras tend to capture photos in a 4:3 aspect ratio (i.e. 1.33:1) but social media feeds display photos at different aspect ratios, such as 1.91:1 for Facebook, 2:1 for Twitter, and 1:1 for Instagram.
If possible you should take this into account when framing your photo. Essentially it means that the photo that is displayed on Facebook and Twitter will be narrower than it is on your camera (i.e. it won’t have the same height) and that it will be a square on Instagram.
With the help of these tips, you should be able to start capturing far better photos for social media, regardless of the camera that you’re using. The only other thing that you may need if you want to truly make your photo stand out is an editor that you can use to improve them further.
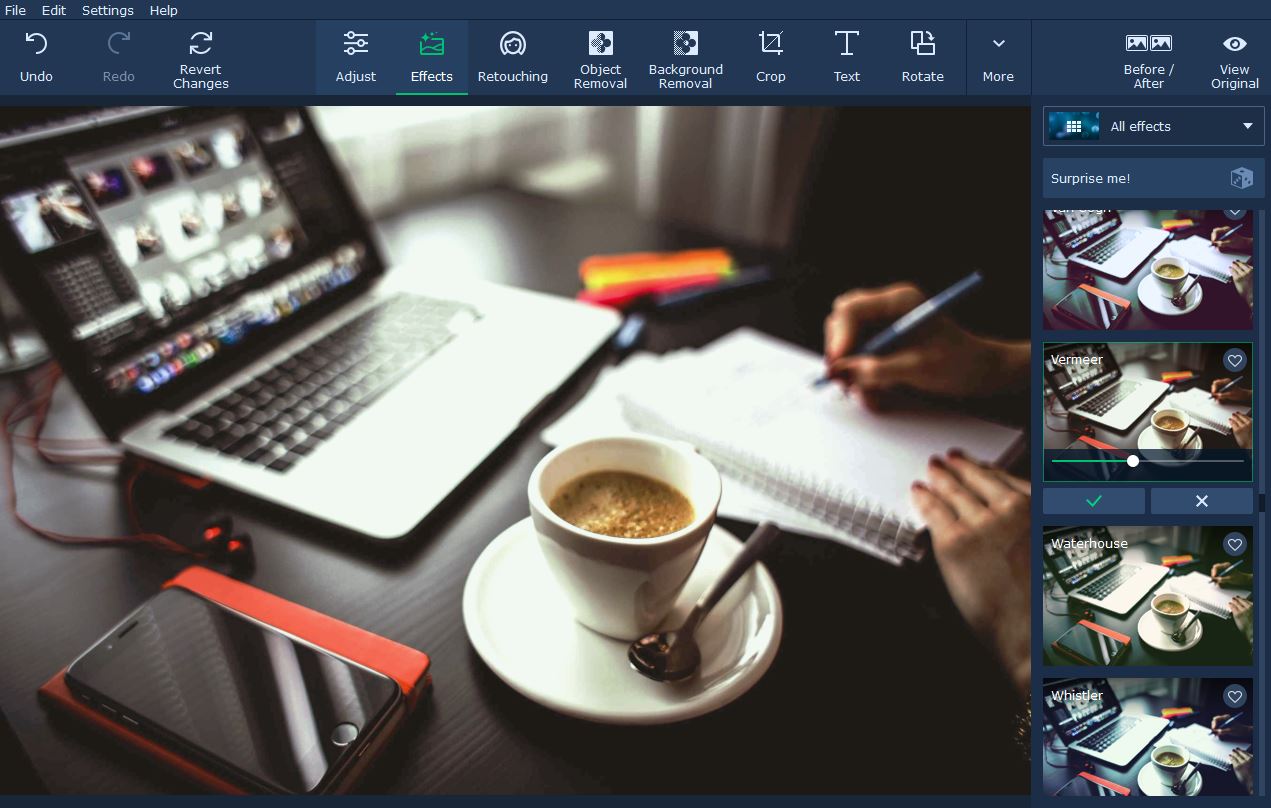
If you would like a simple photo editor that is easy to use and doesn’t have a steep learning curve – you should try Movavi Photo Editor. It is designed to be user-friendly and will require no prior experience or special skills.
At the same time, Movavi Photo Editor will equip with a wide range of features that you can use to create spectacular social media photos. With it, you can add text to photo as captions, enhance the image quality, apply filters and effects, remove unwanted objects, touch up portraits, and much more.
Suffice to say you can apply the features in Movavi Photo Editor after you’ve captured your photos to ensure they are truly perfect before you upload them to social media. Honestly, if you really want to capture better photos you should try it out, so you can see how easy it can be to edit your photos.