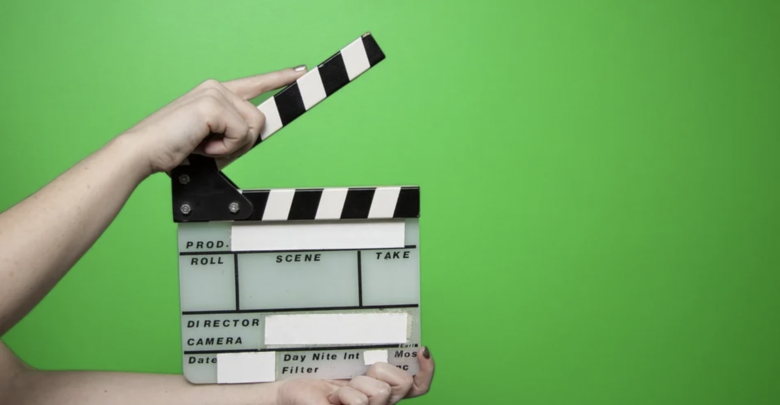
Green screens are a great solution to issues like shoot location selection. The logistics and economic costs involved are an added burden on you when trying to decide where to shoot. The time of day and the weather also play a part in these decisions. You don’t have to worry about any of these factors with green screens. Whether a product shoot or a corporate/educational video, you can shoot them inside a studio and simply add in a relevant background.
Creating video content is all the rage now. Real estate, marketing, mobile journalism, coaching, and online courses are a few areas where it has become very popular. Business videos, live workshops, blogs, and social media are some of its applications. Video-making apps like BIGVU make using green screens extremely easy. You don’t need advanced video editing or expert help for this. However, it is important to know how to use a green screen properly.
So here are some expert tips on how to utilize your green screen best
Uneven Lighting
This issue will be presented from 2 major causes.
Wrinkles
The first of which is wrinkles. Ensure that the green screen you have obtained is stretched out as much as possible without ripping it. Most green screens will come with hooks that you can string up to a stable surface. The supplied green screen stands don’t completely stretch out the screen. Hence, these hooks and an external hooking point will be needed. Additionally, ironing and steaming are things you can do to ensure that the stretched fabric is completely smooth.
Lighting
The correct way to set up a green screen is to block out all the external light coming into the room. Thus, windows or cracks in doorways need to be sealed so that no light can enter the room from outside. The key light that you use for the screen needs to be evenly distributed. Even lighting is different from strong lighting. An easy way to check whether the lighting is even is to lower the exposure on the camera, and you will notice the issues. Also, check for shadows, which is one of the main concerns of uneven lighting. The light for the subject should not cast a shadow on the screen, and there should be ample distance between the subject and the screen.
Light Falloff
When the green color from the screen reflects on the subject, it is known as light falloff. You will sometimes notice that the subject’s edges have a green blend. When using a very bright light on the screen, it can bounce off the screen and cause this reflection. It can also come from the room walls that you are shooting in. Setting up a black curtain on the edges of the wall and having the subject move away from the green screen will help with this issue.
Camera Shutter Speed
The shutter speed controls the motion blur effect you see in moving objects. When the shutter angle is set to 180 degrees, it is the closest to reality. If you shoot at 24 frames per second, you will set your shutter speed to 50, and if you are shooting at 60 frames per second, you will set your shutter speed to 125. Low shutter speeds cause more motion blur, and high shutter speeds cause less motion blur.
When the motion blur is too low, there is green screen leakage. The best way to add motion blur to a scene would be to shoot at a high shutter speed and then add the motion blur effect in post-production.
Green Things on the Subject and Light Matching
If the subject you are shooting has anything green on them, this will be a problem. Green tattoos and clothing patterns are easily missed. It creates a hole effect on the subject. Since the green screen background that you have added in will be cast on those green areas.
The final one matches the lighting between the subject and the background footage. You can fix a lot in post-production by making color corrections, but for exceptionally bright or dark footage, this is going to be an issue. So it is best to match the lighting between the subject and the footage during the shoot itself. To make the shot look even more realistic, add an extra layer during post-production. For example, if it is raining in the background footage, add a layer of rain on top of the subject. It will make it look like there is depth in the shot, and the rain is falling in front of the camera too.
These are some of the handy tips that you can use whether you are shooting a green screen video inside your home or in a studio.